14 min to read
Is Docker a tool for Hackers ?
Using Docker as a handy tool for exploitation.

Description : Docker is a set of platform as a service products that uses OS-level virtualization to deliver software in packages called containers. Containers are isolated from one another and bundle their own software, libraries and configuration files; they can communicate with each other through well-defined channels.
This is tutorial is a sequel to my previous tutorial Is Cloud a tool for hackers? . Please do checkout that before starting this.
Warning
- I am not responsible if you misuse the knowledge given in this tutorial. Use your Knowledge wisely.
- Using Cloud May Cost you if you don’t follow the tutorial properly.
Links
- My GitHub profile
- My Instagram profile
- My Website
- Docker PlayGround for trying stuff explained in this tutorial.
- Some more cool Projects on docker
Contents
- Difference Between Container images and Containers
- Getting Started with docker run command
- Making a Wordpress Website using docker
- docker run args
- Building Docker Images
- Using
docker commit - Using
Dockerfile
- Using
- Using Container Registry for your Workflow
- Using Docker Hub
- Pushing, Pulling, Tagging images
- Making your portable toolkit and applications with docker
- Cloud desktop using docker with pentesting tools
- ParrotSec and Kali Linux in docker with tools
- Controlling docker engine using docker sock (Docker Gui)
- Hosting your own Container registry
- VS-Code in Browser
- Usefull Links
Difference Between Container images and Containers
Images can exist without containers, whereas a container needs to run an image to exist. Therefore, containers are dependent on images and use them to construct a run-time environment and run an application.
The two concepts exist as essential components (or rather phases) in the process of running a Docker container. Having a running container is the final “phase” of that process, indicating it is dependent on previous steps and components. That is why docker images essentially govern and shape containers.

Getting Started with docker run command

Usage : docker run [OPTIONS] IMAGE [COMMAND] [ARG...]
docker run \
-p <host port>:<container-port> \ # to port forward ports between container and host
--name <container-name> \ # specify the name of the container
--rm \ # automaticaly remove when the container stops
-d  \ # Detached mode: Run container in the background, print new container id
--net <network name> \ # to connect to virtual networks like host, bridge, internal
-e var=value \ # to specify environment variables
-it \ # for interactive process use this tag
-v <volume-name/path-on-host>:/path/inside/container # mounts virtual volumes, folders, files inside the container
<image-name>:<tag> # can be found on docker hub or at any other container registry
sudo docker run -t debian ## to make a container and directly get its shell use flag --rm to automatically delete comtainer when it stops
sudo docker ps ## ro view running containers
sudo docker container ls -a ## view stored container information
sudo docker images # view downloaded image
sudo docker pull <image name> # download image from docker hub
sudo docker run -d -t --name <container name>  -p 80:80 <image name> # to create a container with port 80 linked to localhost add more ports using -p flag
sudo docker exec -it <container name > <command> # to get into the container shell
sudo docker start/stop <containe name>/<container id>
For more info on basic usage read this guide
Making a Wordpress website using docker
Deploying a wordpress website manually is a tedious task but not with docker. To make it manually you need to first setup web server with php installed with correct version and dependencies. If you have did that right now you have to configure the server with mods and config files. then fix permissions, don’t forget to setup database, and data protection
ooh that’s too easy
But with docker you will just need to pull and run some docker images.
# start a databse instance using mysql
docker run -itd --name db -e MYSQL_ROOT_PASSWORD=somewordpress \
    -e MYSQL_DATABASE=wordpress \
    -e MYSQL_USER=wordpress \
    -e MYSQL_PASSWORD=wordpress \
    mysql
# start the wordpress web server
docker run -itd -p 80:80 -p 443:443 --link db --name wordpress \
    -e WORDPRESS_DB_USER=wordpress \
    -e WORDPRESS_DB_PASSWORD=wordpress  \
    -e WORDPRESS_DB_NAME=wordpress \
    -e WORDPRESS_DB_HOST=db:3306  \
    wordpress
Go to host-address:80 to see the wordpress installaiton Page.

Building Docker Images
Docker images can be made using two ways
- using docker commit command (like git commit)
- using
Dockerfile
Docker commit
The docker commit command helps you to create an image using a docker container.
$ docker commit
"docker commit" requires at least 1 and at most 2 arguments.
See 'docker commit --help'.

Usage:  docker commit [OPTIONS] CONTAINER [REPOSITORY[:TAG]]

Create a new image from a container changes

$ docker commit wordpress wp
sha256:9a7f178642edfb186b062699faac0b3743b8542b7eee284af9f691d5c9f5b610

$ docker images # verifying the images
REPOSITORY          TAG                 IMAGE ID            CREATED             SIZE
wp                  latest              9a7f178642ed        4 seconds ago       543MB
mysql               latest              6e447ce4863d        4 days ago          544MB
wordpress           latest              ee2256095234        8 days ago          543MB
Dockerfile
Dockerfiles are just a set of instructions to run inside a container and some specific properties. You can look it as a recipe of Baking an image. Now let’s have a look at an example.
MAINTAINER root@harshsinghvi.com
FROM debian
RUN apt update
CMD echo "Hello World !!!"
EXPOSE 80 # to expose ports
WORKDIR /mnt # set default directory
ADD /source /destination # add files you can use any remote source also
COPY /source /destination # copy files from host to image
For more info on basic usage read this guide
You Will encounter more Dockerfiles in this tutorial further.
Now you have created your recipe, Let’s bake it.
cd source-dir # where Dockerfile is located
docker build -t <image-name> .
Using Container Registry for your Workflow
DockerHub is like Github for pre-build Docker Images. You can find different images there and alo contribute.
Pushing and image to docker hub.
- Create your profile on Docker Hub and note the username.
- we have seen how to make your own docker image. Use
docker tag <image-name> <username>/<imagename>:<tag>to tag the image to upload to your profile. Now Usedocker push <username>/<imagename>:<tag>to push the image to your Docker Hub Profile.NOTE: If the repo already exeists it will push with the latest tag but if it is not present it will create a new repo with imagename as the repo name and a image imagename:tag inside the repo.
- Verify it on Docker Hub
Pulling Image
Pulling images is not that big task. docker run automatically does it for you but if you just want to pull use docker pull <imagename>:<tag>
Making your portable toolkit and applications with docker
Cloud desktop using docker with pentesting tools

You will be glad to see that you can run a disposable desktop environment with gui using docker on wour web browser with just one line of command
sudo docker run --rm --name temp -d --net=host -e VNC_PASSWORD=demo dorowu/ubuntu-desktop-lxde-vnc:focal-lxqt
In this desktop you can add kali linux repository and install metapackages and all tools
Adding kali linux repo
sh -c "echo 'deb https://http.kali.org/kali kali-rolling main non-free contrib' > /etc/apt/sources.list.d/kali.list" && wget 'https://archive.kali.org/archive-key.asc' && apt-key add archive-key.asc && apt update
After you have setup the desktop accourding to your needs use docker commit to make an image of the container and then push it to your repo.
Dockerfile
# Built with arch: amd64 flavor: lxde image: ubuntu:20.04
#
################################################################################
# base system
################################################################################

FROM ubuntu:20.04 as system


RUN sed -i 's#http://archive.ubuntu.com/ubuntu/#mirror://mirrors.ubuntu.com/mirrors.txt#' /etc/apt/sources.list;


# built-in packages
ENV DEBIAN_FRONTEND noninteractive
RUN apt update \
    && apt install -y --no-install-recommends software-properties-common curl apache2-utils \
    && apt update \
    && apt install -y --no-install-recommends --allow-unauthenticated \
        supervisor nginx sudo net-tools zenity xz-utils \
        dbus-x11 x11-utils alsa-utils \
        mesa-utils libgl1-mesa-dri \
    && apt autoclean -y \
    && apt autoremove -y \
    && rm -rf /var/lib/apt/lists/*
# install debs error if combine together
RUN apt update \
    && apt install -y --no-install-recommends --allow-unauthenticated \
        xvfb x11vnc \
        vim-tiny firefox ttf-ubuntu-font-family ttf-wqy-zenhei  \
    && apt autoclean -y \
    && apt autoremove -y \
    && rm -rf /var/lib/apt/lists/*

RUN apt update \
    && apt install -y gpg-agent \
    && curl -LO https://dl.google.com/linux/direct/google-chrome-stable_current_amd64.deb \
    && (dpkg -i ./google-chrome-stable_current_amd64.deb || apt-get install -fy) \
    && curl -sSL https://dl.google.com/linux/linux_signing_key.pub | apt-key add \
    && rm google-chrome-stable_current_amd64.deb \
    && rm -rf /var/lib/apt/lists/*

RUN apt update \
    && apt install -y --no-install-recommends --allow-unauthenticated \
        lxde gtk2-engines-murrine gnome-themes-standard gtk2-engines-pixbuf gtk2-engines-murrine arc-theme \
    && apt autoclean -y \
    && apt autoremove -y \
    && rm -rf /var/lib/apt/lists/*


# Additional packages require ~600MB
# libreoffice  pinta language-pack-zh-hant language-pack-gnome-zh-hant firefox-locale-zh-hant libreoffice-l10n-zh-tw

# tini to fix subreap
ARG TINI_VERSION=v0.18.0
ADD https://github.com/krallin/tini/releases/download/${TINI_VERSION}/tini /bin/tini
RUN chmod +x /bin/tini

# ffmpeg
RUN apt update \
    && apt install -y --no-install-recommends --allow-unauthenticated \
        ffmpeg \
    && rm -rf /var/lib/apt/lists/* \
    && mkdir /usr/local/ffmpeg \
    && ln -s /usr/bin/ffmpeg /usr/local/ffmpeg/ffmpeg

# python library
COPY rootfs/usr/local/lib/web/backend/requirements.txt /tmp/
RUN apt-get update \
    && dpkg-query -W -f='${Package}\n' > /tmp/a.txt \
    && apt-get install -y python3-pip python3-dev build-essential \
	&& pip3 install setuptools wheel && pip3 install -r /tmp/requirements.txt \
    && ln -s /usr/bin/python3 /usr/local/bin/python \
    && dpkg-query -W -f='${Package}\n' > /tmp/b.txt \
    && apt-get remove -y `diff --changed-group-format='%>' --unchanged-group-format='' /tmp/a.txt /tmp/b.txt | xargs` \
    && apt-get autoclean -y \
    && apt-get autoremove -y \
    && rm -rf /var/lib/apt/lists/* \
    && rm -rf /var/cache/apt/* /tmp/a.txt /tmp/b.txt


################################################################################
# builder
################################################################################
FROM ubuntu:20.04 as builder


RUN sed -i 's#http://archive.ubuntu.com/ubuntu/#mirror://mirrors.ubuntu.com/mirrors.txt#' /etc/apt/sources.list;


RUN apt-get update \
    && apt-get install -y --no-install-recommends curl ca-certificates gnupg patch

# nodejs
RUN curl -sL https://deb.nodesource.com/setup_12.x | bash - \
    && apt-get install -y nodejs

# yarn
RUN curl -sS https://dl.yarnpkg.com/debian/pubkey.gpg | apt-key add - \
    && echo "deb https://dl.yarnpkg.com/debian/ stable main" | tee /etc/apt/sources.list.d/yarn.list \
    && apt-get update \
    && apt-get install -y yarn

# build frontend
COPY web /src/web
RUN cd /src/web \
    && yarn \
    && yarn build
RUN sed -i 's#app/locale/#novnc/app/locale/#' /src/web/dist/static/novnc/app/ui.js


################################################################################
# merge
################################################################################
FROM system
LABEL maintainer="fcwu.tw@gmail.com"

COPY --from=builder /src/web/dist/ /usr/local/lib/web/frontend/
COPY rootfs /
RUN ln -sf /usr/local/lib/web/frontend/static/websockify /usr/local/lib/web/frontend/static/novnc/utils/websockify && \
	chmod +x /usr/local/lib/web/frontend/static/websockify/run

EXPOSE 80
WORKDIR /root
ENV HOME=/home/ubuntu \
    SHELL=/bin/bash
HEALTHCHECK --interval=30s --timeout=5s CMD curl --fail http://127.0.0.1:6079/api/health
ENTRYPOINT ["/startup.sh"]
ParrotSec and Kali Linux in docker with tools
docker run -it parrotsec/core bash # to run parrot sec
docker run -it kalilinux/kali-rolling # to run kali linux
Use Dockerfile to build an image for metasploit pre-installed
FROM kalilinux/kali-rolling
RUN apt-get update && apt-get install metasploit-framework -y
CMD /bin/bash
Controlling docker engine using docker sock (Docker Gui)
Docker Engine can be controlled using sock located at /var/run/docker.sock. You have to mount that using -v to the same path inside the container.
Well there is a Advanced project for us to use as an example.
docker run -d -p 8000:8000 -p 9000:9000 --name=portainer --restart=always -v /var/run/docker.sock:/var/run/docker.sock portainer/portainer
Go To

Hosting your own Container registry
Docker provices a container registry also to host your own container registry
docker run -d -p 5000:5000 --restart always --name registry registry:2 # start server
# Now, use it from within Docker:
docker pull ubuntu
docker tag ubuntu localhost:5000/ubuntu
docker push localhost:5000/ubuntu
Docker refrence to container registry
Runing VS Code in browser
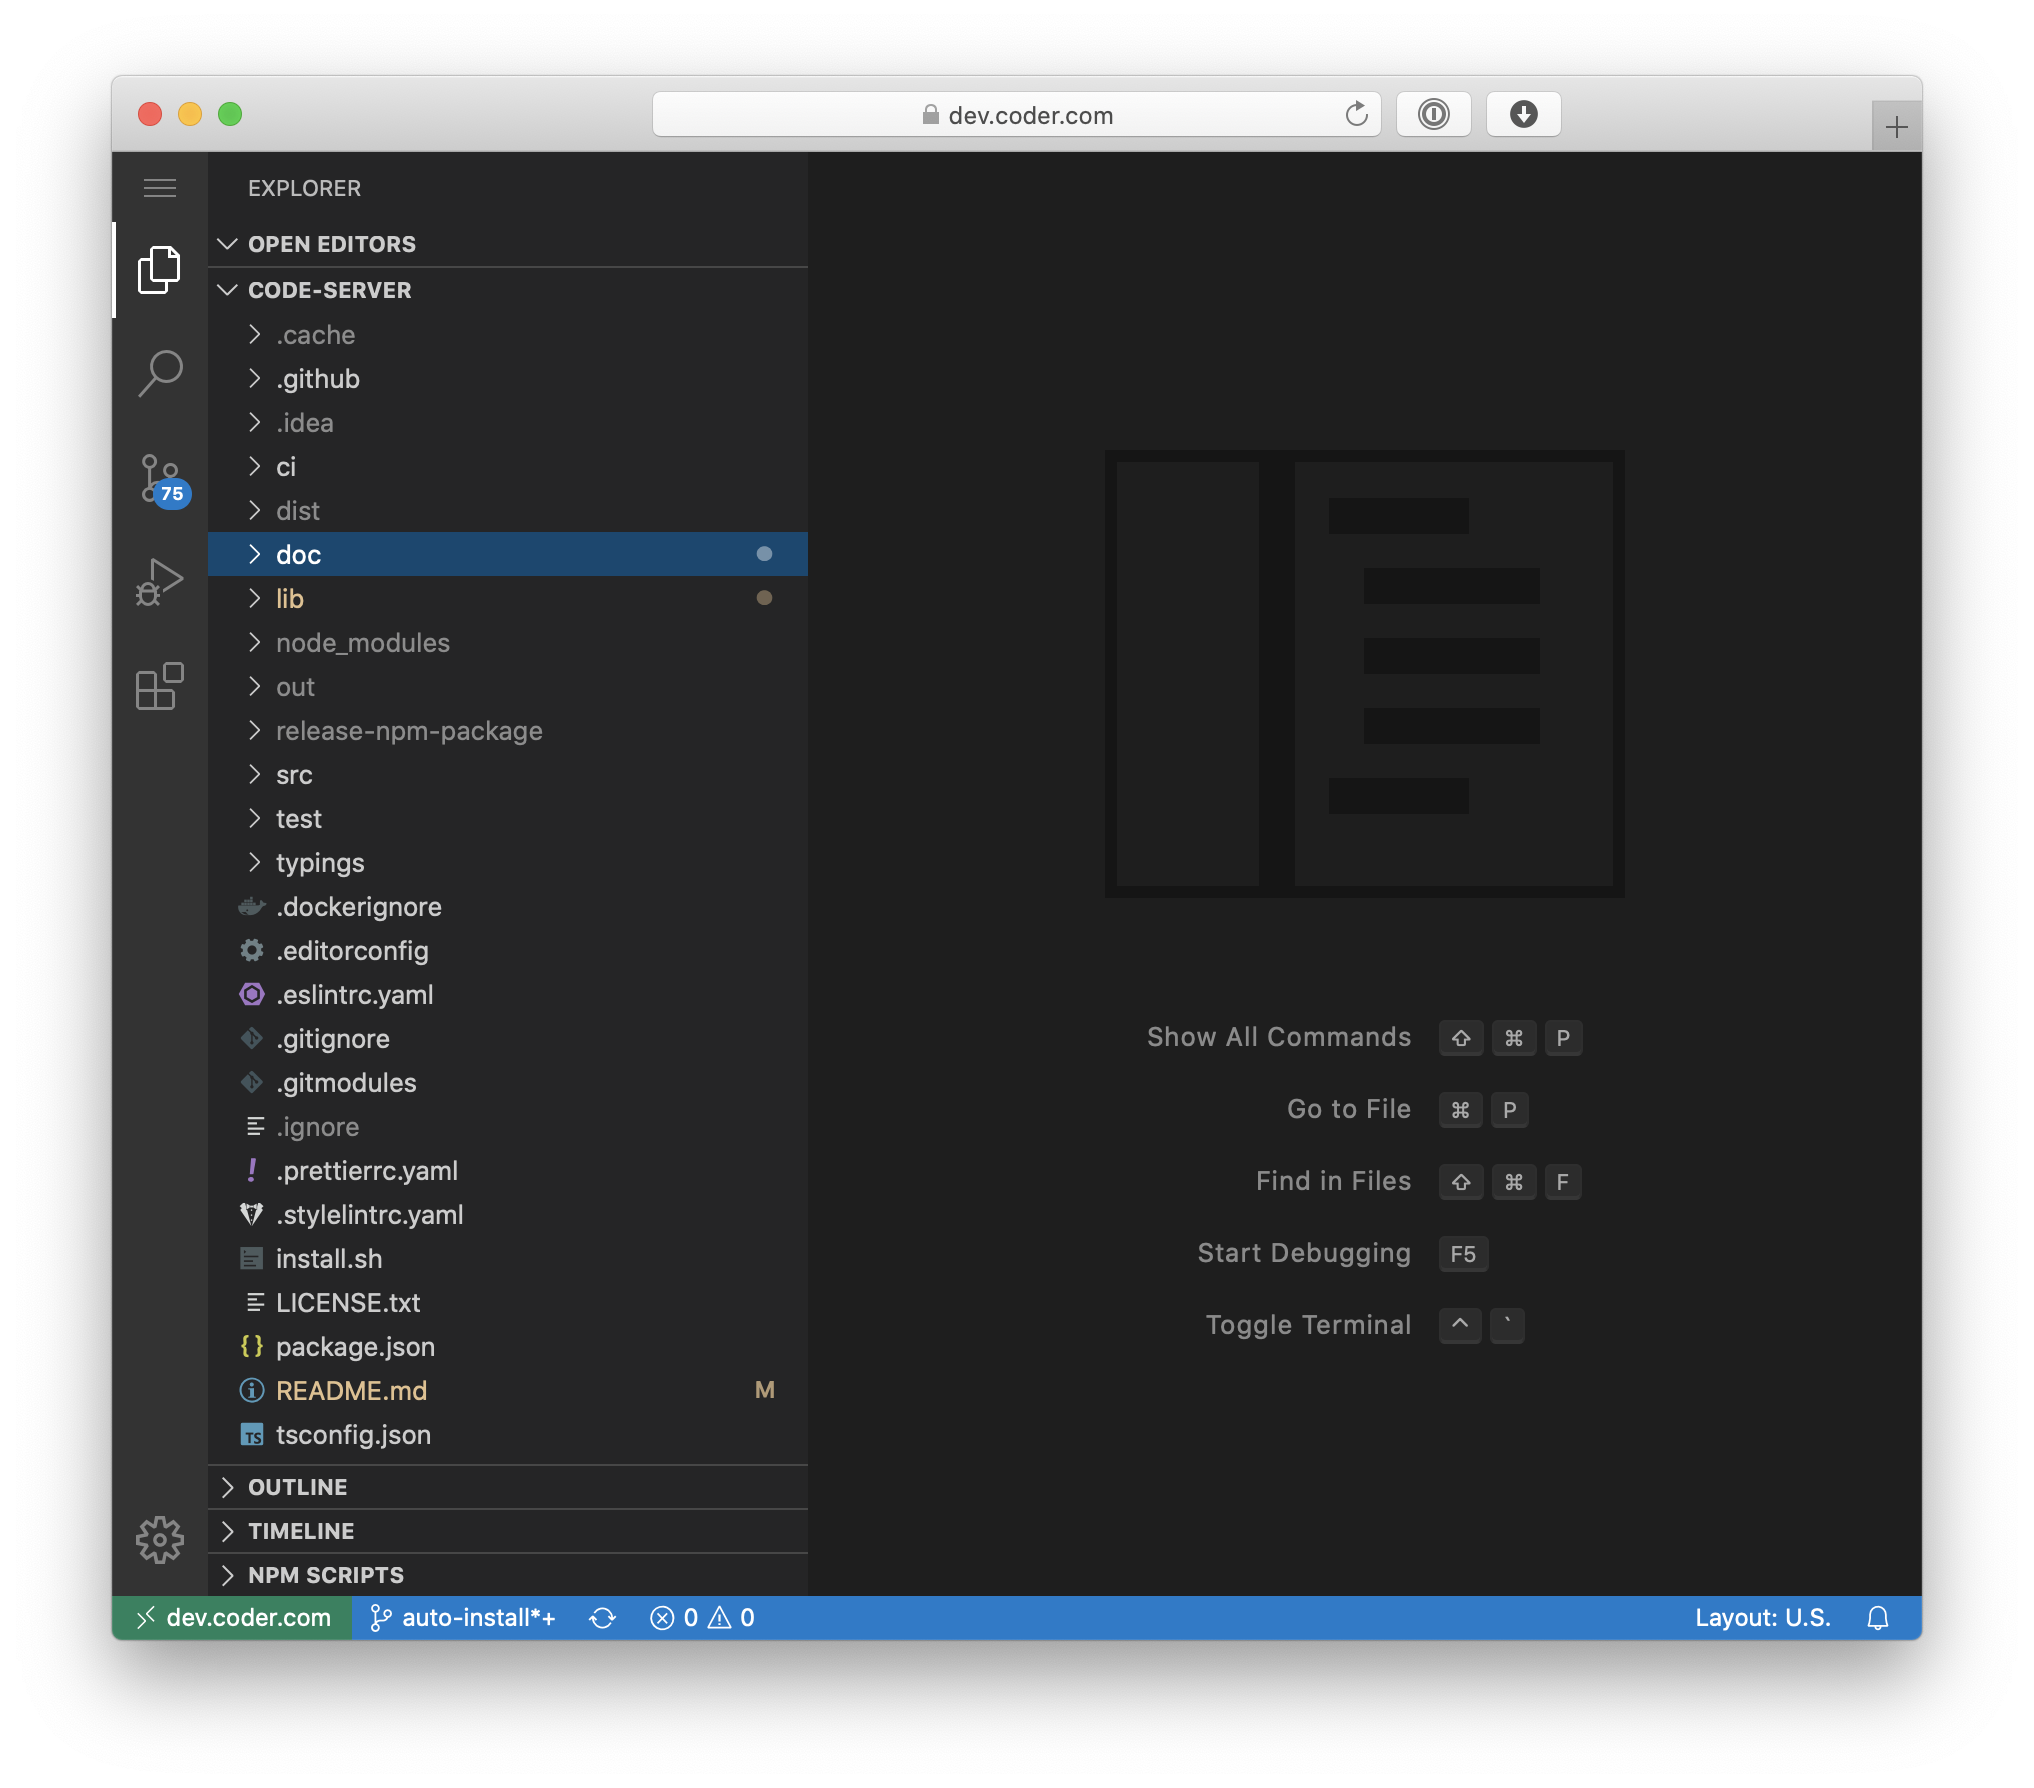
# This will start a code-server container and expose it at http://127.0.0.1:8080.
# It will also mount your current directory into the container as `/home/coder/project`
# and forward your UID/GID so that all file system operations occur as your user outside
# the container.
docker run -it -p 127.0.0.1:8080:8080 \
  -v "$PWD:/home/coder/project" \
  -u "$(id -u):$(id -g)" \
  codercom/code-server:latest